WebVR With A-Frame
WebVR
WebVR is an emerging technology that enables virtual reality experience to be delivered and experienced from within a web browser. WebVR is mostly composed of experimental Javascript APIs supported by browsers such as Firefox and Chrome and VR headsets such as Oculus Rift, Google Daydream etc.
WebVR can be used to build all kinds of VR experiences such as presentations, stories, walk-through guides, maps, architectural design demos, games and anything else one can envision.
A-Frame
A-Frame is a WebVR framework that allows web developers to create VR experiences using simple declarative syntax and HTML-like elements. Check it out at https://aframe.io/.
In this post, we will use a popular WebVR framework “A-Frame” to build a simple maze game.
The idea:
- Build a simple 3D maze with 2 exits
- Drop user in the middle of the maze and allow user to move towards either exit
Getting started
We start with a simple template. Create a folder “maze-vr” and then create index.html file.
File: index.html
<html>
<head>
    <title>Maze</title>
    <meta charset="UTF-8">
    <script src="//aframe.io/releases/0.6.0/aframe.min.js"></script>
    <script src="//cdn.rawgit.com/donmccurdy/aframe-extras/v3.11.4/dist/aframe-extras.min.js"></script>
    <script src="game.js"></script>
</head>
<body class="a-body ">
    <a-scene>
    </a-scene>
    <a style="display: none;"></a>
</body>
</html>
I also included aframe-extras for physics and added another file game.js where we will add js code for the game.
Run and verify:
cd maze-vr
python -m SimpleHTTPServer
Then go to: http://localhost:8000
We should have a simple A-Frame scene up and running. A blank screen with no errors on console is what we’re looking for at this point.
Start adding VR components to a-scene
Now we’ll go ahead and add a few components and configs to <a-scene> in index.html file.
Add ground, sky, user’s perspective (camera) and enable physics and stats for the scene element.
    <a-scene
      stats
      physics="
        driver: worker;
        workerFps: 60;
        workerInterpolate: true;
        workerInterpBufferSize: 2;
      ">
        <a-sky color="#6EBAA7"></a-sky>
        <!-- ground -->
        <a-grid static-body></a-grid>
        <a-entity
            camera="userHeight: 1.6"
            universal-controls
            kinematic-body
        >
        </a-entity>
    </a-scene>
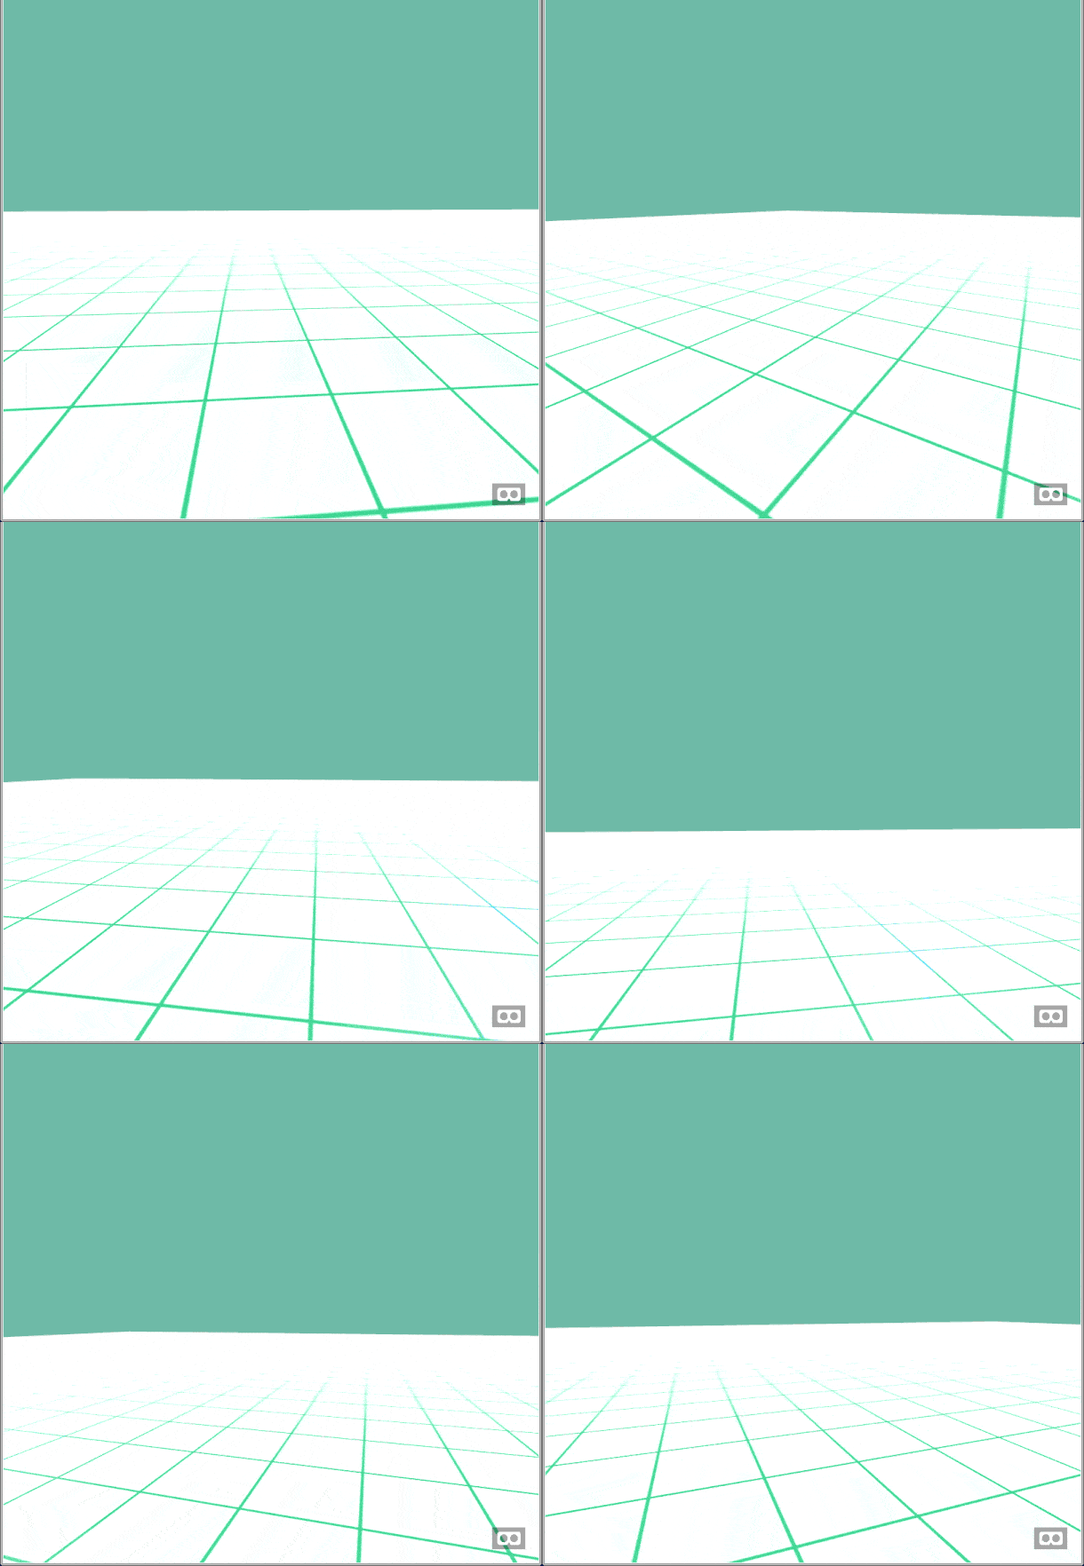
At this point, we should have a basic scene with ground, sky and user should be able to move using mouse and W-A-S-D keys. Something like this:

Build and render a maze
Folks at rosettacode.org have an entire page dedicated to maze generation algorithms so we used one of their JS implementation and modified it a bit. https://rosettacode.org/wiki/Maze_generation#JavaScript
We also added two more functions to game.js
- addWall: create a static-body A-frame entity with specified positions and dimensions
- renderMaze: generate and render a maze on window load
You can find the entire source for game.js and this project at https://github.com/androidfanatic/aframe-maze-vr/.
A-Frame makes building VR scenes extremely easy. For example, take a look at the addWall method:
function addWall(x, y, z, h, w, d) {
    var wall = document.createElement('a-entity');
    wall.setAttribute("position", x + " " + y + " " + z);
    wall.setAttribute("geometry", "height:" + h + ";width:" + w + ";depth:" + d + ";");
    wall.setAttribute("static-body", "shape: box;");
    document.querySelector('a-scene').appendChild(wall);
}
Applying textures to a 3D object:
Load 2D images or texture as assets:
<a-scene ... >
    <a-assets>
        <img id="wall" src="img/wall.jpg">
        <img id="sand" src="img/sand.jpg">
    </a-assets>
    ...
</a-scene>
Apply texture to ground and wall components as follows:
<a-grid static-body material="src: #sand"></a-grid>

// and

function addWall(x, y, z, h, w, d) {
    ...
    wall.setAttribute("material", "src: #wall");
    ...
}
And thus we’ve finished composing a 3D scene for maze game with shapes, texture, physics and user controls with few lines of code!
Go ahead and give it a try. Click below to start. Press esc to exit.
Play in fullscreen.
Check this project at: https://github.com/androidfanatic/aframe-maze-vr
Tips for debugging:
- Use the inspector bundled wit A-Frame by pressing
ctrl + alt + i. You can then pick elements and modify/debug their properties. Once happy with the scene, you can also export it to HTML from the inspector.
-
Add
statsattribute to a-scene to keep an eye on framerate and other params. -
Use dev tools and browser console.